
This easy sewn hair bow is the perfect accessory to 'doll up' anything. I've seen some DIY felt hair bows where its just a few snips of the scissors and you have a hair bow, but I wanted to have the option to use pre-existing scrap fabrics for this project. There are some optional steps in the tutorial that I will identify before hand - ENJOY!
What you will need:
Scrap fabric (I'd say at least 6" x 6")
bobby pins/clips
scissors
needle/thread or hot glue/ super glue/ fabric glue (you can use both needle and thread and glue, or one or the other)
iron (optional)

Begin by cutting your fabric so that its at least 5" x 6" (I chose to do 6" x 8" to be safe)

Next, cut your fabric in half VERTICALLY.

With the RIGHT SIDES of the fabric facing each other, sew straight up the edges of fabric vertically.

And then sew one end horizontally and cut off the extra thread and fabric.

Turn you fabric right side out and size up how big you want your bow to be. I chose about 3 1/2 inches, and cut.

Sew the last end horizontally. (I didn't have coordinating thread color, so I took a red pen and colored the thread to blend as an alternative.)

Now you can start the band that will actually create the bow shape. Take a thin strip of fabric at least 1 1/2" x 3" and sew each side seem so there is no raw edge.

Wrap it around your bow fabric and sew it in a loop.
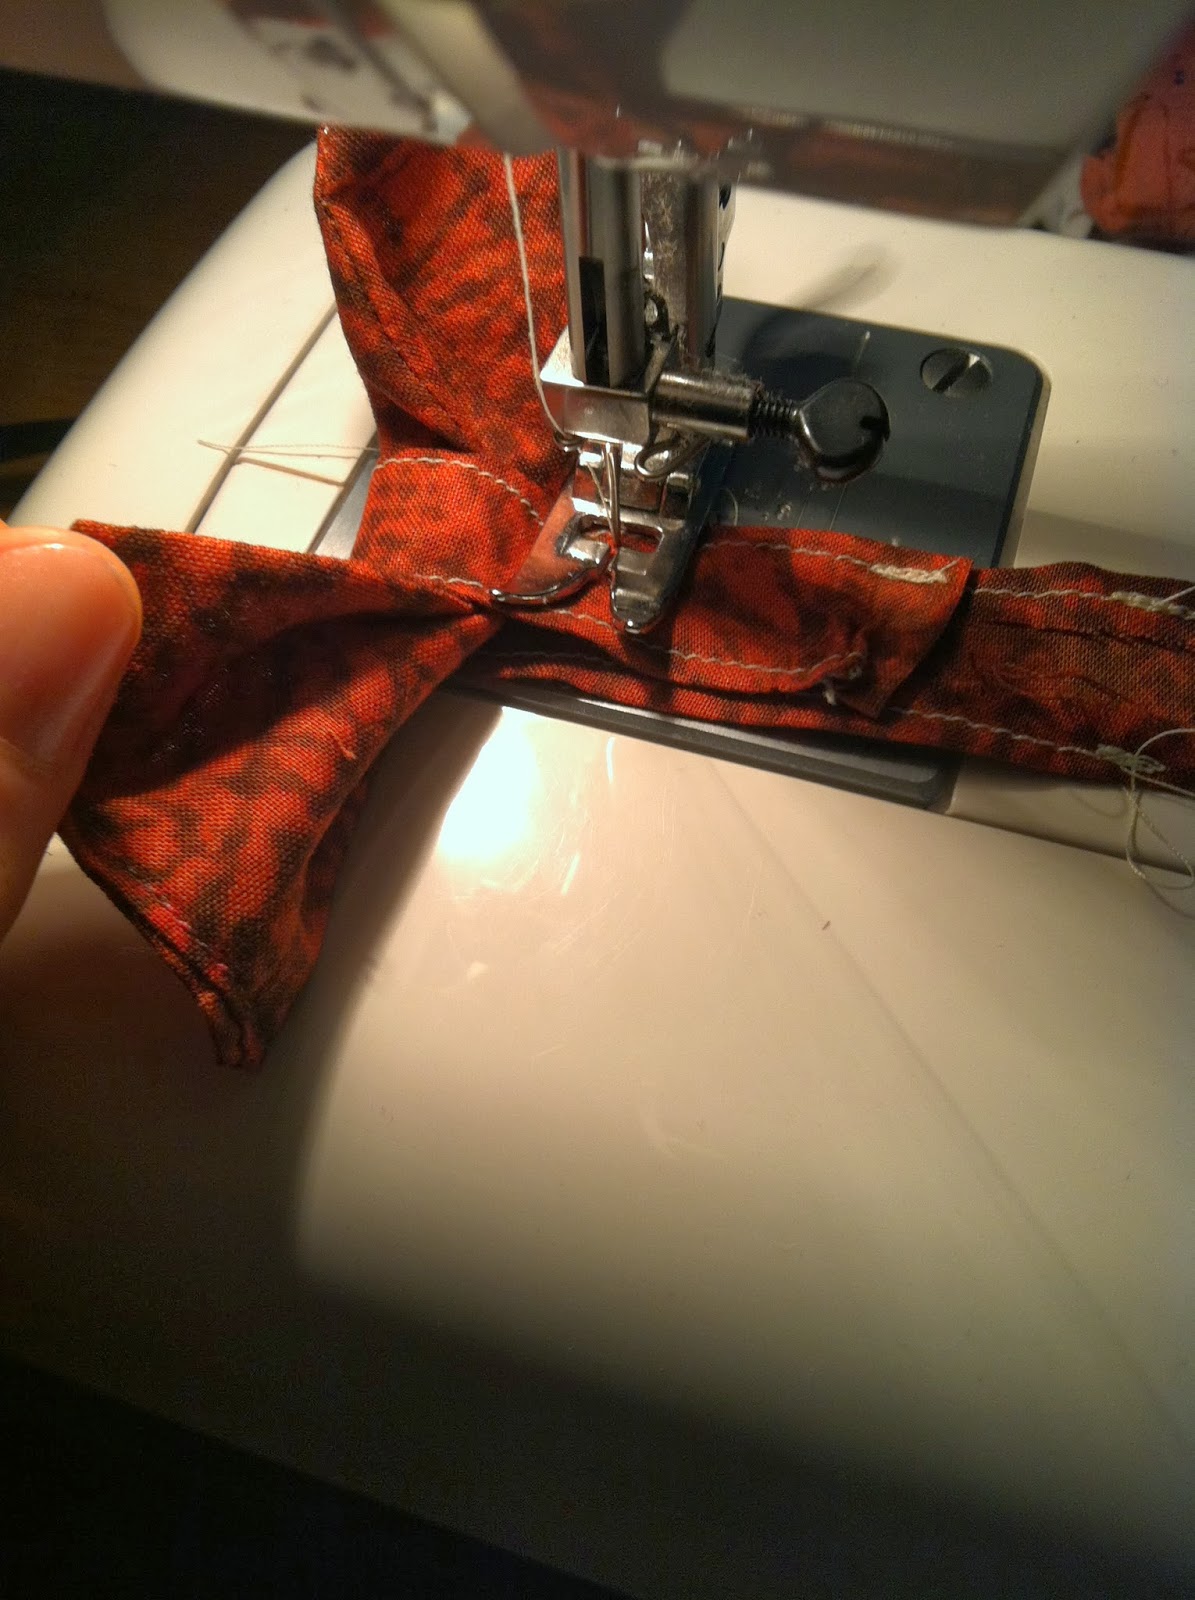
Cut off the extra fabric, and you have your bow!

Optional: You can choose to iron your bow if its lopsided or not staying in shape.

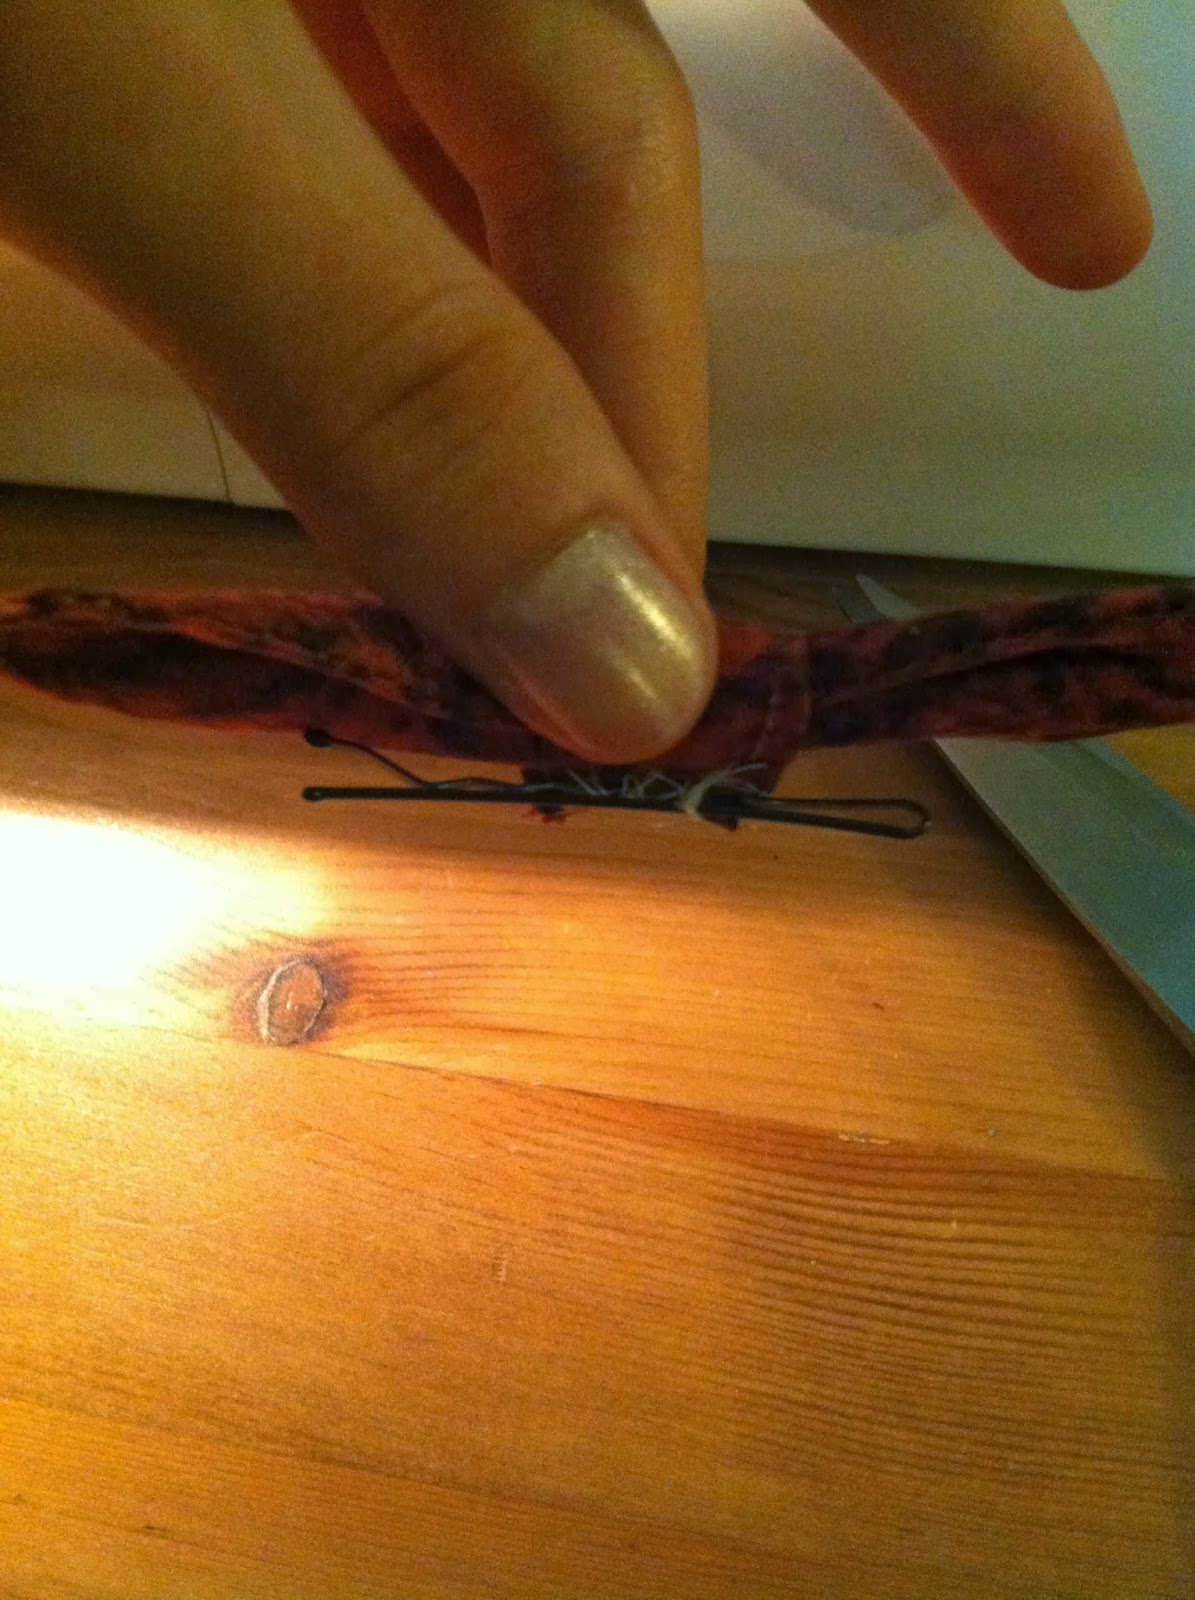
Here is where you decide if you will sew the bobby pin by hand or glue the pin to the bow.

Wah-lah! There you have it, an adorable, custom bow! To wear with your hair up or down! ENJOY!

No comments:
Post a Comment