Monday, September 23, 2013

Simple ice water solution


Quick post today. I just learned about a super easy tip when you want ice water on the go. Everyone has a water bottle, right? Well, that's all you need! 

You simple fill your water bottle 1/4 to 1/2 of the way full with water and put it in the freezer for a couple hours, ON ITS SIDE. That way, in a couple hours or in the morning you don't need to wait for your water to defrost to have a sip. The ice has ony frozen half of your bottle, leaving you with the simple task of filling up your bottle the rest of the way with water.... Or juice, or whatever! POW! You are ready to go. No need to wait for ice to melt. 

This is perfect for early morning work days, or school days. It's a perfect solution for sport athletes, too.

Sunday, September 22, 2013

Eucalyptus shower therapy


While reading about how to relieve symptoms of the common cold naturally, I came across an interesting article about sinuses and congestion relief that involved eucalyptus in an easy way. As I researched a little more I discovered that the benifits of eucalyptus are almost infinite. Now, I know coming from someone who loves natural and homeopathic therapys, this isn't saying much, but I promise this is something worth trying.

All you need is eucalyptus and a rubber band or twine. Just tie a few sprigs every couple of weeks on your shower head or rod and let the oils do their magic. 

Some benefits of using eucalyptus are that it helps with respitory health, its a natural anti inflammatory, anti septic and anti viral. It helps relieve sinuses and congestion while also creating mood clarity and stress relief. 

WHO wouldn't want to try this out??


Saturday, September 21, 2013

Too Big T-shirt refashion


This is SO simple and SO cute. Definitely worth the 10 minutes it takes to complete! If you have a T-shirt or any top that is too big or that is just not working, refurbish it by putting a ribbed tank to it! The end result, depending on the size and length of your shirt used, is PERFECT as a top or a dress. The example I made is a great tunic or summer dress for hot days.

What you will need: 
Tank top (I chose ribbed, but any will do)
Big t-shirt
scissors
Sewing machine

ALL YOU HAVE TO DO is cut your 'too big t shirt' from (lower) arm pit to arm pit. Then take your tank top and cut about an inch below its armpit. Turn your 'too big t shirt' inside out and slip your tank top through it so that the raw ends of each top are together. Then all you need to do is SEW them together to make your top. It's SOOOOO simple. If your T-shirt is too big to simply sew onto your tank, rib it! Fold over the shirt every few inches or less depending on the size. :)


DIY Hair bow


This easy sewn hair bow is the perfect accessory to 'doll up' anything. I've seen some DIY felt hair bows where its just a few snips of the scissors and you have a hair bow, but I wanted to have the option to use pre-existing scrap fabrics for this project. There are some optional steps in the tutorial that I will identify before hand - ENJOY!

What you will need:
Scrap fabric (I'd say at least 6" x 6")
bobby pins/clips
scissors
needle/thread or hot glue/ super glue/ fabric glue (you can use both needle and thread and glue, or one or the other)
iron (optional)


Begin by cutting your fabric so that its at least 5" x 6" (I chose to do 6" x 8" to be safe)


Next, cut your fabric in half VERTICALLY.


With the RIGHT SIDES of the fabric facing each other, sew straight up the edges of fabric vertically.


And then sew one end horizontally and cut off the extra thread and fabric.


Turn you fabric right side out and size up how big you want your bow to be. I chose about 3 1/2 inches, and cut.


Sew the last end horizontally. (I didn't have coordinating thread color, so I took a red pen and colored the thread to blend as an alternative.)


Now you can start the band that will actually create the bow shape. Take a thin strip of fabric at least 1 1/2" x 3" and sew each side seem so there is no raw edge.


Wrap it around your bow fabric and sew it in a loop.


Cut off the extra fabric, and you have your bow!


Optional: You can choose to iron your bow if its lopsided or not staying in shape.


Here is where you decide if you will sew the bobby pin by hand or glue the pin to the bow.


 Wah-lah! There you  have it, an adorable, custom bow! To wear with your hair up or down! ENJOY!


Sunday, September 15, 2013

Ottoman make over


I purchased a bright, fire engine red ottoman on sale for $10 at Target about 3 years ago, and used it as storage in our office. Three years ago my apartment still looked like a college dorm... and since then, my decor has matured. My poor red ottoman hasn't found its place among the new style :( SO I decided to revamp the little guy. With just a yard of fabric and a staple gun, you can create something completely different.

Literally ALL you have to do, is cut 5 squares from your yard of fabric, and staple them onto your ottoman, keeping the sides folded in so you don't have your rough edges showing. AND THEN YOU'RE DONE. 


Can you believe it?? It's so easy. I have even been thinking of adding some upholstery nails to the sides and top of the ottoman. :) I'll make a post later to show this added detail.

Fitted Dress Resize

(left: before, right: after)

Ever tried on a dress knowing its too big and just wishing it would fit correctly when you got home, or that somehow you could make it work, or that someday you'd be able to fit in it? I have. In fact, I was thrift shopping yesterday and found a beautiful mint dress, that was 4 sizes too big. But without fear, I purchased the dress, knowing that I have an easy way to refit a dress to my size. In this easy DIY you'll not only learn how to re-size your dress easily, but also refit a shoulder with a simple detail stitch.

Things you will need:
Dress (way too big, or just a little too big)
Scissors
Sewing Machine


First things first, lets try the dress on. I like to eyeball what I will be taking off of my clothing, but feel free to take your measurements if you're uncomfortable with doing this. After you have sized up how much you will be taking off of each side (which should be the same amount) you can take your dress off.


Lay it inside out and visualize the inches you need to take off  its current side seems. (for me, it was about 2 inches off each side.)


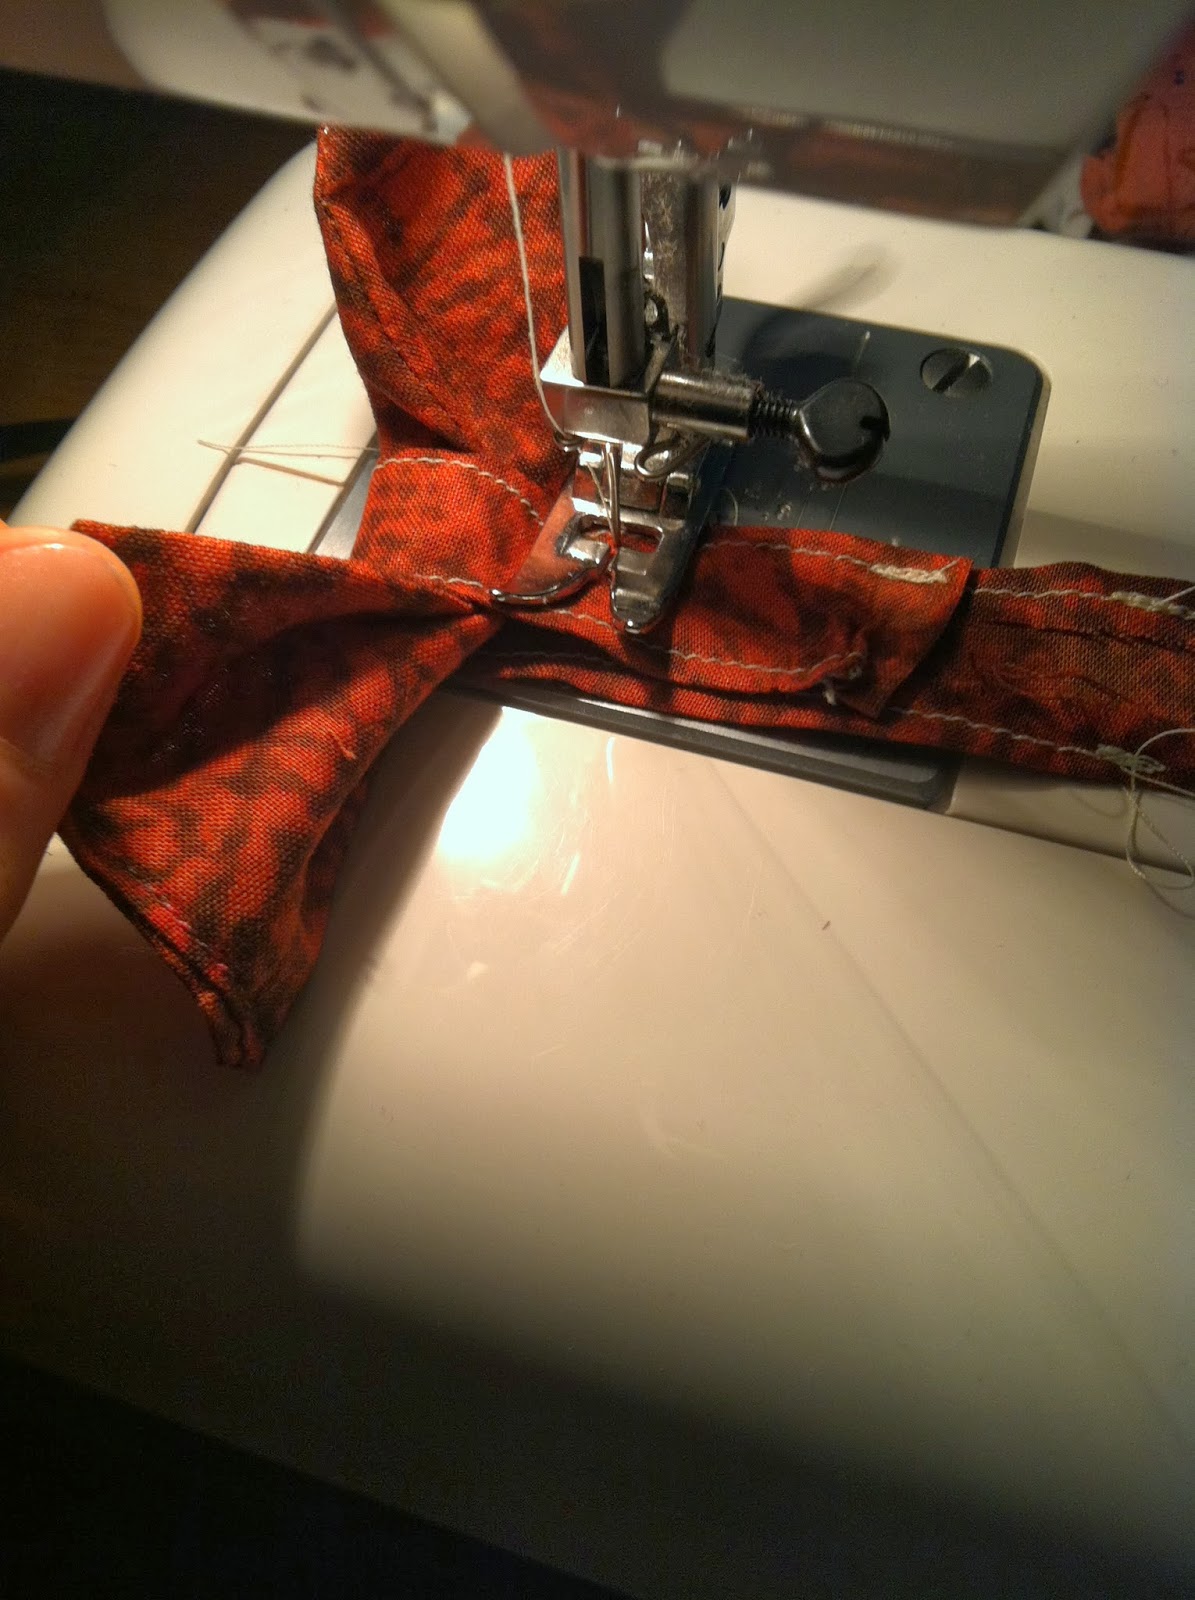
When you begin your sewing you're going to want to start your stitch at the bottom of the armpit, ending at the bottom skirt seem.


If your dress has an elastic waist band, fear not, they are super easy to overcome. They should be sewn over like a zipper would. Just back stitch a few times over the elastic band and you are good to continue on your side seem.


You can continue to seem evenly all the way down the side of the dress, or slowly fade into the original seem like I chose to do. My preference for this dress was to have the skirt more flow-y, therefore I chose to fade into the original seem at the bottom of the skirt. Feel free to keep an even stitch all the way down for a more fitted skirt, depending on your dress shape.


When your seem is finished off, proceed to cut the thread ends and the extra fabric off the dress.


Try on your dress, and decide whether you need take any more fabric in and/or if you need to adjust your dress sleeves. If you do need to adjust the shoulder, follow this SUPER easy instruction. All you need to do, with your dress inside out, is sew from the collar seem to the sleeve seem your desired inches to take off.


I chose to take off a little less than an inch.


Cut the thread ends and the extra fabric starting at the collar, following your stitch and ending at the top of the sleeve stitch.


This is what your sleeve should look like after you are finished:


Now your dress is fitted :)


Saturday, September 14, 2013

DIY lamp make over


This DIY is for a basic home essential - a lamp. I was given these two identical green lamps by my grandmother, who said I could do whatever I wanted with them. So, I first thought, lets take away the gold and the green! I was looking for some spray paint and decided I would do a simple black with a braided rope lamp shade, which I haven't gotten around to making yet! ( But I have added a different DIY shade that you can use with the pre-existing in the meantime. ) So this tutorial is super easy, perfect for the beginner craft-er.


The supplies you will need for the lamp base are:
lamp
spray paint (in your color preference)
painters tape
windex and a towel for cleaning the lamp before painting


The first thing you will do is begin taping the parts of the lamp that you don't want coated in paint. So obviously you don't want the electrical cord painted or the bulb area painted. Cover 'em up! Make sure when you are applying the tape, that you are sealing the tape well, otherwise paint will drop into the bubbles left and you won't have a clean paint line! :(


I also covered a bit of the gold on my lamp with tape so that it would remain unpainted when finished. ( I did this because I plan on using gold puffy paint to create an intricate design on the base later. )

When you are finished taping, its time to clean. Wipe down the surfaces of the lamp that you will be painting. Rid the surface of any dust or grime that may be there. When your finished wiping, its time to paint!


Making sure you don't get spray paint onto anything, use a newspaper or plastic tarp underneath your lamps for protection. Follow the instructions on your particular spray paint and add coats as needed, (I suggest waiting at least 10 minutes between coats. )


When you are all finished with your painting, LEAVE IT ALONE. Leave your lamp in a cool dry place for it to dry WITHOUT disruption. You don't want it outside where leaves and bugs can damage the paint. I chose to keep mine in my garage to dry.

After 24 hours of drying, remove the tape from your lamps. BEAUTIFUL, right? You're all done with painting unless you chose to puffy paint a design on your lamp on a future DIY post :)


LAMP SHADE:


Things you will need:
shade (old or new)
thumb tacks

All you need to do for the lamp shade is take some thumb tacks, and press them into your shade - anywhere you like. I chose to keep it basic and lined the top and bottom of my shade, but you can do a chevron pattern or flower designs, or whatever. Up to you.


Now your done! Enjoy!


Sunday, September 8, 2013

Simple skirt, easy DIY


I have been looking religiously at the fabric stores for decent, casual, simple fabrics to make skirts with. I have been looking for neutrals so that they go with anything, and I finally found a discounted fabric in a really pretty gray/purple with the COOLEST texture. Its a pretty flow-y fabric but not too light, so it will work in the Winter months. Anyways, I had to get it, thus inspiring this super easy waistband skirt.

Things you will need:
Fabric (I purchased 2 yards knowing I would have LOTS of extra for other things, but depending on the length you choose, you will not need this much. I would say get at least a yard for a shorter skirt, like shown.)
Elastic - Preferably a thicker band, but any will do. I chose a medium width.
Scissors
Thread
Pen - for marking
Sewing Machine


This skirt is SO easy. You can't make one any simpler than this, I am telling you. You are going to start by taking your elastic and measuring how much you will need for your waist. I chose to do a high wasted skirt, but because its elastic, it can be used as a low rider too. You will need about double the fabric as the elastic, depending on how scrunchy you want your skirt. 

The next step is sewing a 'pocket' in the fabric for your elastic waist band. You do this by folding over the top of your fabric about a half inch larger than the width of your elastic. 


Sew this 'pocket' starting at one end of your fabric, and ending at the other end. DO NOT sew the ends together, or you wont be able to slide your elastic into the 'pocket'. When you are finished sewing, slide your elastic all the way through.


Next you are going to sew your elastic ends together, creating a circle. Then you will sew the seems of your dress. Starting at the elastic and ending at the bottom of your skirt.


When you've finished your side seem, you can choose to sew the bottom seem of your skirt, or keep it raw like I chose to do. If you choose to keep it raw, trim up any extra fabric and your done. If you choose to seem the bottom, you don't need to trim the fabric until your done sewing the seem. Then you're finished with your skirt!


From here you can keep the skirt as is, or you can add personal details like a lace trim, belt loops or pockets. Completely up to you what you choose to do from here!